Choosing Roaster Gear: Budget to Precision Control
Mastering the art of the perfect roast starts long before the beans hit the heat; it begins with choosing the right gear for your kitchen.
Home roasting allows you to unlock the true potential of specialty beans, transforming your morning routine into a sensory ritual. To succeed, you need to balance your budget with a machine that offers enough temperature control to manage the critical roasting phases.
* Budgeting for Success: Entry-level setups typically range from $50 for manual tools to $200+ for reliable electric roasters. * Watch the Weight: Expect a 10% to 20% reduction in bean weight due to moisture loss during the heat cycle.
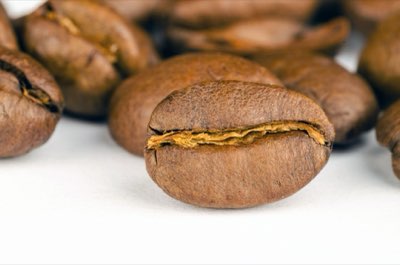
* The "Magic" Moment: Listen for the "First Crack," which usually occurs between 392°F and 410°F (200°C–210°C). * Essential Capacity: Most enthusiasts find that machines handling 200g to 500g per batch offer the best balance of freshness and efficiency.
Why Equipment Choice is the Make-or-Break Factor
Every coffee lover eventually asks, "Can I make this better myself?" While the idea of roasting in a cast-iron skillet sounds romantic, the reality often involves a smoke-filled kitchen and unevenly charred beans.
According to the Specialty Coffee Association's 2025 trend report, the focus of home roasting has shifted from mere "heating" to "precision control." It's no longer just about turning green beans brown; it's about preserving the delicate terroir of high-end beans.
I still remember my first attempt. I tried roasting a small batch of Ethiopian Yirgacheffe in a heavy pan on my stove. Instead of floral notes, I ended up with a bitter, smoky mess that filled my entire apartment with a scent I couldn't shake for two days.
That failure taught me that roasting is less about heat and more about how you *manage* that heat.
Comparing Roasting Methods: Which One Fits Your Lifestyle?
Deciding on a roasting method depends on your space, your patience, and your wallet. A survey of home baristas conducted in early 2025 indicated that the most common entry-level investment for electric roasting falls between $50 and $200.
| Feature | Manual (Hand-Crank) | Electric (Automatic) | Gas/Air (Professional Style) |
|---|---|---|---|
| Primary Mechanism | Manual agitation/turning | Electric heating & rotation | High-output gas flame |
| Estimated Cost | $50 – $100 (Budget) | $150 – $300 (Mid-range) | $300+ (Premium) |
| Difficulty Level | High (Physical effort) | Low (Set and forget) | Moderate (Skill intensive) |
| Best For | Learning the fundamentals | Busy professionals/Convenience | Serious hobbyists/Pro results |
1. Manual Roasters These are the most affordable way to start. You physically turn a crank to keep the beans moving, which provides a tactile connection to the process. It's great for learning, but staying focused for a 5 to 15-minute cycle can be exhausting.
2. Electric Roasters This is my top recommendation for beginners. These machines automate the rotation, ensuring even heat distribution. Modern consumer models often allow you to manage the critical temperature window of 356°F to 428°F (180°C–220°C) with much higher consistency.
3. Gas and High-Airflow Roasters If you want café-quality results, this is the path. However, be warned: these produce significant smoke and require excellent ventilation. They are best suited for those who have a dedicated space for their hobby.
A 6-Step Guide to Your First Successful Roast
Once you have your gear, consistency becomes your best friend. Based on technical roasting guides from the 2026 Coffee Tech Review, you must account for the fact that beans lose about 10% to 20% of their mass as water evaporates.
- Select Your Method: Choose a machine that matches your weekly coffee consumption and available kitchen space. 2. Check Capacity: Aim for a machine that handles 200g to 500g per batch. Larger batches often lead to uneven "hot spots" in home settings. 3.
Preheat Thoroughly: Never drop beans into a cold machine. Preheating ensures the thermal energy is stable from the very first second. 4. Monitor the Transformation: Watch for color changes and listen for the "First Crack." Most varieties will pop around 392°F–410°F (200°C–210°C). 5.
Rapid Cooling: This is non-negotiable. Use a cooling tray or a high-powered fan to drop the temperature immediately, stopping the "cooking" process. 6. The Degassing Phase: Don't brew immediately!
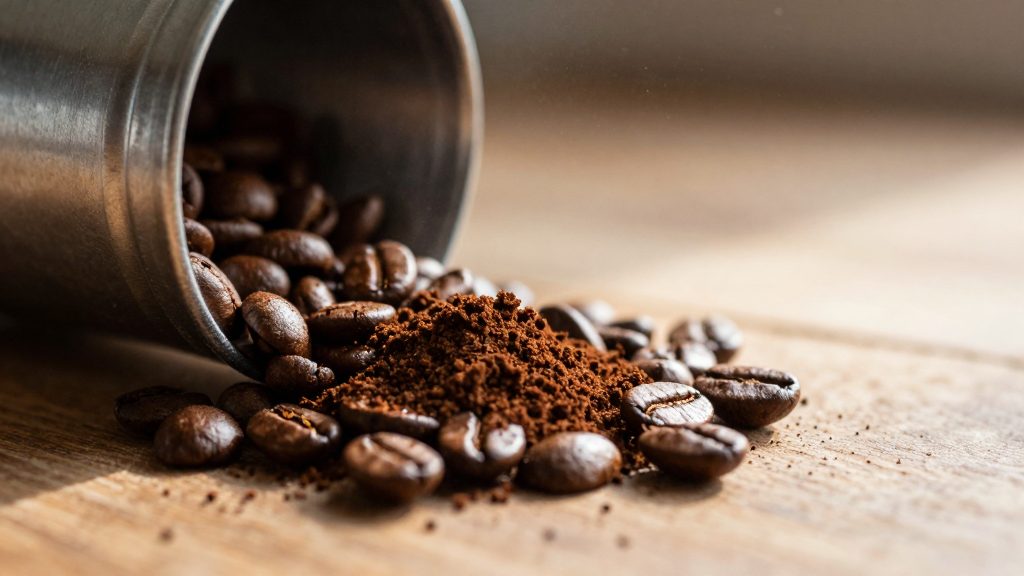
Store beans in an airtight container for 24 to 72 hours to let CO2 escape, which vastly improves the flavor profile.
Common Pitfalls: Smoke, Heat, and Sensor Errors
The two biggest hurdles for newcomers are smoke management and temperature precision. Many beginners underestimate how much smoke a small batch of beans can produce. If you don't have a high-quality vent hood, look for a roaster with built-in smoke reduction or use one near an open window.
Data from roasting research labs in 2025 suggests that while the "First Crack" is a reliable indicator around 200°C, relying solely on digital readouts can be risky.
However, it's important to note that budget-friendly electric roasters often have a margin of error in their temperature sensors. You shouldn't treat the digital screen as absolute truth; instead, use it as a guide while training your senses to recognize the smell and sound of the roast.


Comments 0