Roasting Guide: Achieve First Crack at 196 Celsius
"The moment those beans start popping and dancing in the heat, you aren't just making coffee—you're engineering flavor."
Mastering the coffee roasting temperature first crack is the secret to transitioning from a casual drinker to a true flavor architect.
By controlling heat profiles and recognizing the auditory cues of the beans, you can dial in everything from bright, acidic light roasts to heavy, chocolatey dark roasts.
* Thermal Transition: Watch for the shift from endothermic (absorbing heat) to exothermic (releasing heat) at approximately 175 °C (347 °F). * The Crack Signals: Listen for the "first crack" at roughly 196 °C (385 °F) and the "second crack" at about 224 °C (435 °F). * Mass Loss: Expect a 15% to 18% reduction in bean weight due to moisture and volatile compound loss. * Caffeine Stability: Caffeine stays stable up to 200 °C (392 °F), meaning roasting rarely changes the caffeine content significantly.

Why Master Home Roasting? Becoming a Flavor Architect
While the commercial coffee industry focuses on massive scale and consistency, home roasting is about the pursuit of personal preference.
I still remember my first attempt with a small 500g batch on a manual drum roaster; I completely mismanaged the heat and ended up with a bag of bitter, charred beans that were barely drinkable.
However, once I understood the thermal profiles, everything changed. I realized that roasting isn't just about applying heat; it's about managing a complex chemical transformation. Initially, the process is endothermic, meaning the beans are absorbing heat.
But once you hit around 175 °C (347 °F), the process becomes exothermic, and the beans start giving off their own heat.
In 2025, the trend of "precision roasting" became a massive movement among enthusiasts. Rather than just buying a bag, people are increasingly looking to control the exact nuances of their beans.
Whether you want to highlight the floral acidity of an Ethiopian Yirgacheffe or the nutty body of a Brazilian Cerrado, the temperature curve is your primary tool.
As of 2025, the demand for hyper-local, small-batch coffee profiles continues to reshape how enthusiasts approach their morning brew. Mastering this craft allows you to move beyond generic supermarket beans and design a sensory experience tailored to your specific palate.
The Critical Phases: Managing the First Crack
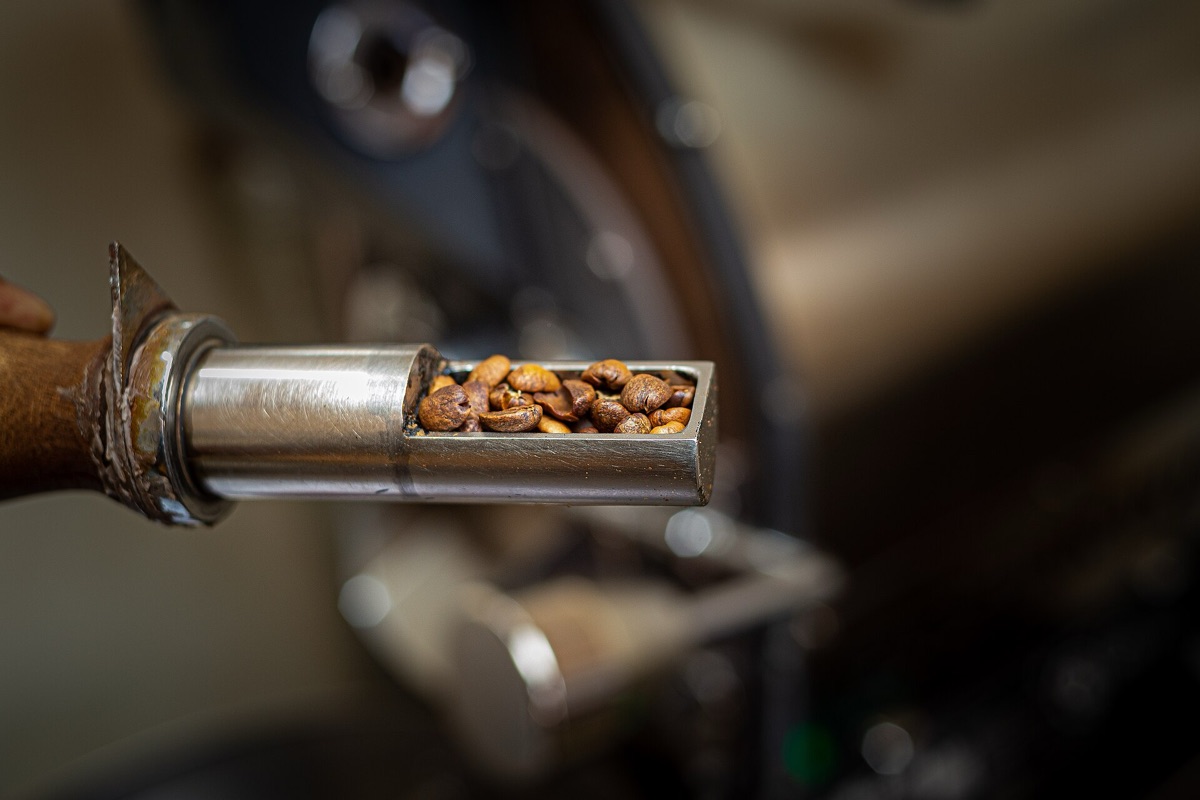
The "crack" is the most exciting part of the process. It is the physical sound of steam pressure reaching a breaking point and bursting the cellular structure of the bean.
According to the Arbuckle Brothers in 1864, the introduction of the one-pound (0.45 kg) paper bag revolutionized coffee marketing.
1. The Drying Phase Before the beans turn brown, you have to drive out the moisture. You want a steady, moderate heat here. If you blast them with too much heat too early, you risk "scorching"—burning the outside of the bean while the inside remains underdeveloped and grassy.
2. The Maillard Reaction and First Crack As the beans transition from yellow to a light brown, the Maillard reaction kicks in, creating complex flavor compounds. At approximately 196 °C (385 °F), you will hear a distinct "pop" or "crackling" sound. This is the coffee roasting temperature first crack. This is your most critical decision point: if you drop the beans right after this, you'll have a bright, acidic light roast.
3. The Second Crack and Finishing If you keep going, the temperature will climb toward 224 °C (435 °F), and you'll hear a much faster, sharper "ticking" sound. This is the second crack. At this stage, the cellular structure is breaking down further, and oils begin to migrate to the surface. This leads to the dark, smoky profiles often found in espresso blends.
| Roast Level | Target Temp (°C) | Typical Sound | Flavor Profile |
|---|---|---|---|
| Light Roast | 196 – 205 °C | First Crack (steady) | Bright acidity, floral, citrus |
| Medium Roast | 205 – 215 °C | Between cracks | Balanced, nutty, caramel |
| Dark Roast | 224 °C + | Second Crack (sharp) | Heavy body, dark chocolate, smoky |
As we move through 2026, data-driven roasting—using apps to track these exact temperature curves—has become the standard for serious hobbyists.
- Monitor the acoustic changes in the drum to identify the exact moment of the first crack.
- Adjust the heat application to prevent a rapid temperature spike that could scorch the beans.
- Develop a target time for the development phase to ensure balanced acidity and sweetness.
A Step-by-Step Guide to a Successful Roast
If you are just starting out, don't try to wing it. Follow this systematic approach to ensure consistency.
- Measure Your Batch: Weigh your green beans precisely. I usually start with a 250g batch to ensure even heat distribution. 2. Preheat the Roaster: Ensure your machine is at a stable temperature before adding beans to prevent a "thermal shock" that leads to uneven roasting. 3. Monitor the Heat Curve: Use a high-quality probe thermometer. Watch for that transition at 175 °C (347 °F) and prepare for the first crack at 196 °C (385 °F). 4. Execute a Rapid Cool: This is the step most beginners skip! As soon as you hit your target temperature, dump the beans into a cooling tray. If they stay hot, they will continue to roast internally, turning your medium roast into a dark roast in seconds. 5. Log the Data: Write down the time it took to reach each crack. This is the only way to replicate a "perfect" batch.
When I tried this, I was surprised by how much a slight delay in the drying phase could deepen the caramel notes. I would definitely use a more consistent airflow next time to avoid uneven heat distribution.
The Art of Degassing and Storage
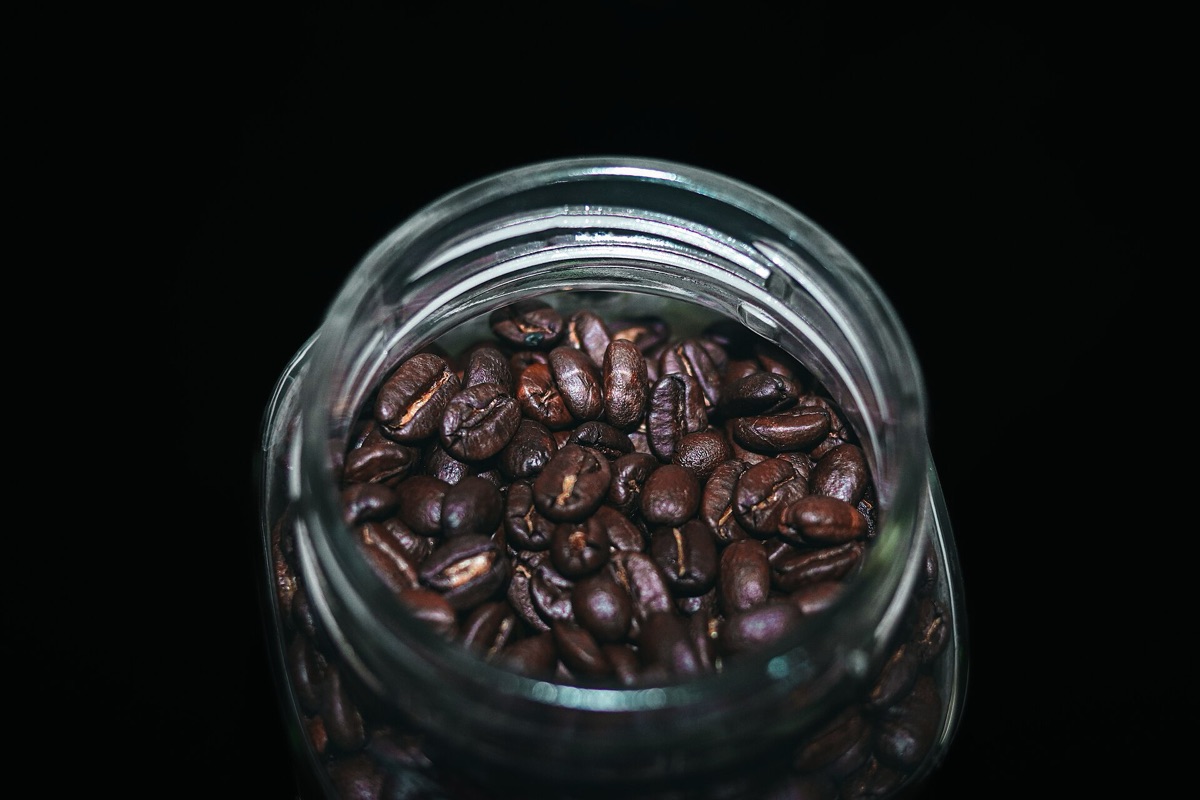
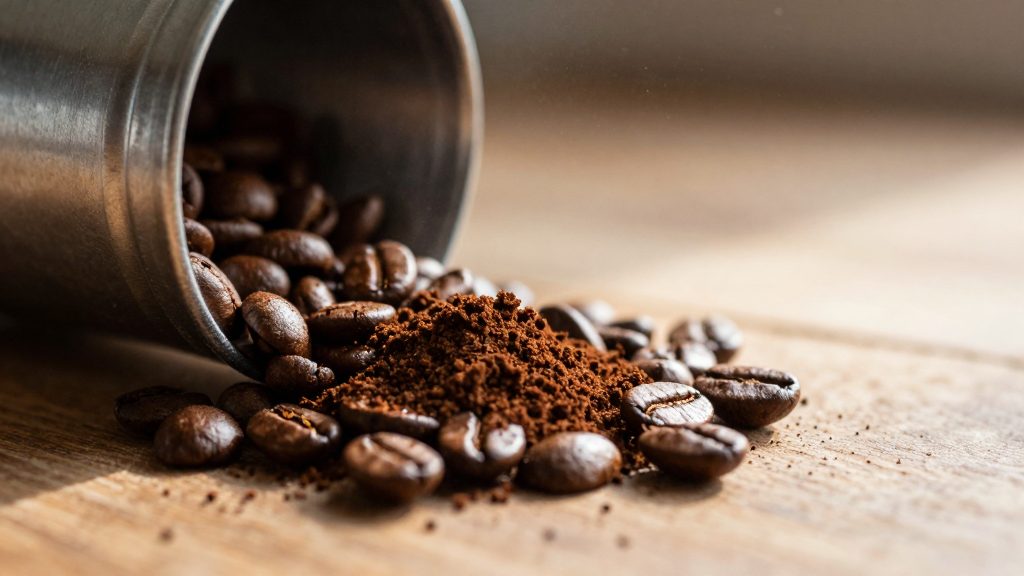
One of the biggest mistakes I see is people brewing their coffee the very same day they roast it. Freshly roasted beans are essentially "breathing" carbon dioxide. If you brew too early, that gas interferes with water penetration, resulting in a sour, uneven extraction.
You need to allow for "degassing." For most specialty beans, a rest period of 3 to 7 days is ideal. By the 14-day mark, the flavors usually peak.
Regarding storage, oxygen is your enemy. Once roasted, coffee begins to oxidize rapidly. While roasted coffee has an optimal typical shelf life of about two weeks, ground coffee loses its aromatic compounds in as little as 15 minutes of exposure to air.
Always store your beans in airtight, opaque containers.
- Transfer the roasted beans into a container equipped with a one-way degassing valve.
- Store the beans in a cool, dark place to prevent oxidation.
- Wait at least 48 hours before brewing to allow carbon dioxide levels to stabilize.
Limitations and Trade-offs
It is important to note that home roasting has its limits. Most consumer-grade roasters lack the thermal mass and precision of industrial machines. According to the technical data, separate thermal oxidisers operate at 650–816 °C (1,202–1,501 °F) to maintain efficiency.
You may struggle with "smoke management"—roasting 500g of beans in a small apartment can quickly fill your living room with smoke if you don't have a high-quality ventilation system.
Additionally, while temperature is the main driver, humidity and bean density will always introduce variables that even the best temperature control cannot fully eliminate.
As of 2025, most home setups still face challenges in replicating the precise thermal stability of industrial-grade drum roasters. Users must accept that small-scale roasting often requires more manual intervention to achieve consistent results.

Comments 0