Master Home Roasting: 6 Steps to Perfect Coffee Flavor
"The moment you catch that first scent of freshly roasted beans wafting through your kitchen, your entire home coffee experience changes forever."
Mastering home roasting is about precision heat management to evaporate moisture and trigger the chemical reactions that unlock complex flavors. By controlling temperature and timing, you can transform plain green beans into a personalized masterpiece.
* Temperature Precision: Aim for a range between 356°F and 428°F (180°C–220°C) to achieve your desired roast profile. * The "First Crack" Milestone: Watch for the audible pop around 392°F–410°F (200°C–210°C) to signal the transition to development. * Rapid Cooling is Key: You must stop the roasting process immediately after reaching your target color to prevent over-roasting. * Patience for Flavor: Allow beans to degas for 24 to 72 hours to ensure the CO2 escapes and the flavors stabilize.
Why is Home Roasting Considered an Art of Heat and Time?
When I first bought my small-batch home roaster, I thought roasting was as simple as "applying heat." I quickly learned that lesson the hard way when I ended up with "under-roasted" beans—bitter, grassy, and tasting like burnt toast because the outside scorched while the inside stayed raw.
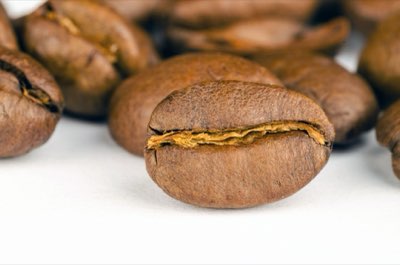
Coffee roasting is the process of transferring energy to organic matter to induce physical and chemical changes. As the temperature climbs, moisture evaporates and the Maillard reaction occurs, creating the complex sugars and aromas we crave.
According to the Specialty Coffee Association (SCA), high-quality coffee is defined by how well it preserves the unique "terroir" of its origin. To achieve this, you can't just blast the beans with heat; you have to delicately adjust your energy input as the bean's structure evolves.
A Step-by-Step Guide to a Flawless Roast
For small-batch home roasting, a single cycle typically lasts between 5 and 15 minutes. During this short window, incredible transformations occur. Here is the standard workflow I use to ensure consistency:
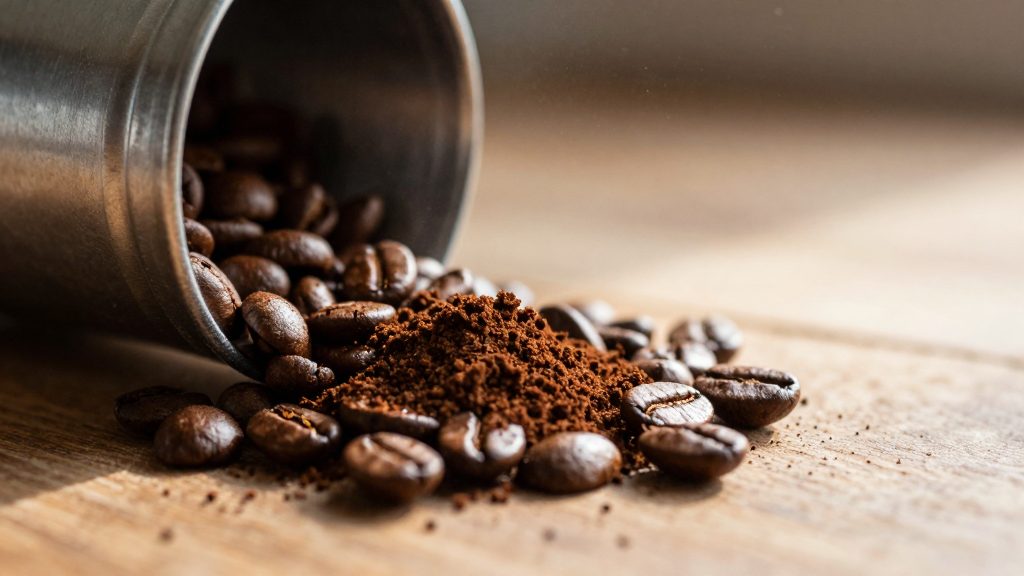
- Preheating and Drying Phase: Heat your roaster to a stable temperature before adding the green beans. The goal here is to evaporate moisture evenly without scorching the surface of the beans. 2. Maillard Reaction Management: As the temperature rises, monitor the color change and rising aroma. This stage is crucial for developing the sweetness and complexity of the coffee. 3. First Crack Monitoring: Listen closely for the audible "crack" (the expansion of the bean structure) which usually happens between 392°F and 410°F. Once you hear this, prepare to adjust your heat to control the development time. 4. Development Time Control: This is the window between the first crack and your desired roast level. If you want bright acidity, keep this short; for a heavy body and chocolate notes, extend this period. 5. Rapid Cooling: As soon as you hit your target color, immediately transfer the beans to a cooling tray or a metal sieve. If you don't, the residual heat will continue to cook the beans, leading to an unintentional dark roast. 6. Degassing and Storage: Freshly roasted beans are packed with CO2, which can make the flavor taste "sharp" or metallic. Store them in airtight containers with a one-way valve to allow gas to escape while preventing oxidation.
Comparing Roast Profiles and Flavor Notes
The ultimate goal of roasting is to maximize the potential of each specific bean. I've found that adjusting the roast level significantly changes how I brew my morning cup.
| Roast Level | Typical Temp Range | Flavor Profile | Recommended Ratio (Coffee:Water) |
|---|---|---|---|
| Light Roast | 356°F – 392°F | Bright acidity, floral, fruity | 1:18 to 1:16 |
| Medium Roast | 392°F – 419°F | Balanced acidity/sweetness, nutty | 1:17 to 1:16 |
| Dark Roast | 419°F+ | Heavy body, chocolate, smoky | 1:16 or lower |
Keep in mind that as moisture evaporates, you should expect a weight loss of approximately 10% to 20% from the original green bean weight. Tracking this percentage is a great way to measure how efficiently you are transferring heat.
Understanding the Limitations of Home Roasting
It is important to be realistic: home roasting has its hurdles. Most domestic roasters struggle to match the thermal consistency of large-scale commercial machines. It can be difficult to manage the massive heat capacity required for larger batches.
Furthermore, small variables like the accuracy of your thermometer or even the ventilation in your kitchen can swing your results. However, I've found that instead of getting frustrated by a "bad" batch, it's better to treat it as data.
By recording your time, temperature, and weight loss, you'll eventually build a "signature profile" that works every time.


Comments 0